Waterproofing is the whole job

Bathroom Remodel Victorville CA

We get called to open up failed bathrooms several times a year, and the story is nearly always identical: water found a path behind the tile at a corner, a curb, or a niche, and it quietly rotted the framing for years while everything looked fine from the outside. Tile and grout are not waterproof. The system behind them is.

A bathroom is also the smallest room in the house with the most trades in it — framing, plumbing, electrical, ventilation, waterproofing, tile, glass, and finish carpentry all inside 40 square feet. There is nowhere to hide sloppy sequencing, which is why bathrooms are a good way to judge a contractor before you hand them a bigger project.

Hall bath
3–5 weeks typical
Primary suite bath
5–8 weeks typical
Permit
Required when moving plumbing, electrical, or walls
Curbless entry
Needs floor framing or slab recess planned early

How we build a shower that lasts

We build showers as a continuous waterproof assembly, not a stack of hopeful layers. That means a pre-sloped pan or sloped mortar bed at the correct quarter-inch-per-foot fall, a bonded waterproof membrane over the substrate, and corners, curbs, and penetrations detailed with the manufacturer's own components rather than whatever caulk is on the truck.

Niches and benches are where most failures start, because they create horizontal surfaces and inside corners in the wettest part of the room. We slope every niche sill, waterproof it as a unit, and place the seams away from the water path. It takes an extra half day and it is the difference between a twenty-year shower and a five-year one.

  • Bonded sheet or liquid membrane systems over a pre-sloped base
  • Correctly detailed corners, curbs, benches, and sloped niche sills
  • Linear and center drains set to the slope, flood-tested before tile
  • Frameless glass, tiled ceilings for steam, and full-height surrounds
Aging in place, without it looking clinical

A lot of our High Desert clients are planning to stay in these houses permanently, and the smart time to build for that is during a remodel you were doing anyway. A curbless entry, a wider door, blocking in the walls for future grab bars, a comfort-height vanity, and a bench cost very little now and are expensive to retrofit later.

None of it has to look like a hospital. Barrier-free showers with linear drains and large-format tile read as modern and high-end, not medical, and blocking behind the drywall is invisible until the day you want a bar mounted where it will actually hold.

  • Curbless, barrier-free showers with linear drains
  • In-wall blocking for grab bars, even if you are not installing them yet
  • 36-inch doorways and turning clearances where the framing allows
  • Comfort-height vanities, hand showers, and anti-scald valves

Ventilation, heat, and water

Desert air is dry, which fools people into thinking bathroom ventilation does not matter here. It absolutely does — the moisture load comes from the shower, not the climate, and an undersized fan ducted into the attic instead of outside is how you grow mold in a place that gets four inches of rain a year.

We size fans to the room volume, duct them to the exterior with smooth pipe and a proper damper, and put them on a timer or humidity sensor. While the walls are open we also look at hot water delivery — a recirculating loop or a point-of-use heater ends the ninety-second wait most primary baths have.

  • Exhaust fans sized to room volume and ducted outside, not to the attic
  • Humidity-sensing or timed switches so the fan runs long enough
  • Electric radiant floor heat under tile
  • Recirculation loops and point-of-use water heaters

How a bathroom remodel project runs

No mystery, no radio silence. Here's the sequence from first phone call to final walkthrough.

  1. 01

    Walkthrough and moisture check

    We look for existing damage, check the subfloor around the toilet and shower, and note whether walls are structural.

  2. 02

    Design and selections

    Layout, tile, fixtures, and glass chosen up front with real allowances so the budget holds.

  3. 03

    Permit and materials

    Permits pulled while tile and fixtures arrive, so nothing stalls with the room already gutted.

  4. 04

    Demo and rough

    Containment, demo, then plumbing, electrical, and framing rough with inspections before anything is closed.

  5. 05

    Waterproof and flood test

    Membrane installed and the pan flood-tested before a single tile goes on.

  6. 06

    Tile, finish, and punch

    Tile, glass, fixtures, final inspection, punch walk, and written warranty.

Questions we get asked

Get a straight answer about your project

Tell us what you're thinking about. We'll walk the property, give you a realistic range, and tell you honestly if there's a smarter way to spend the money — even if it's not the job we'd rather sell.

Real project, real results

Drag to see the transformation

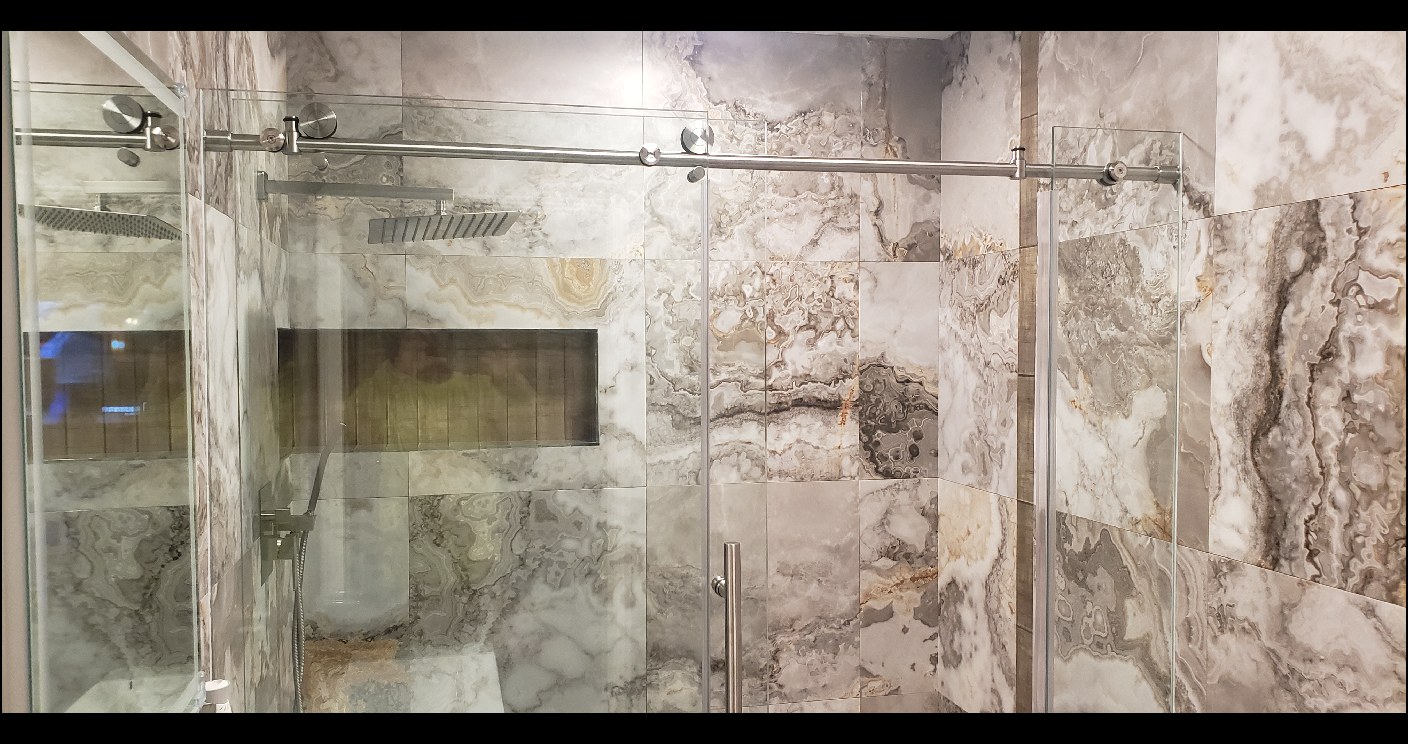
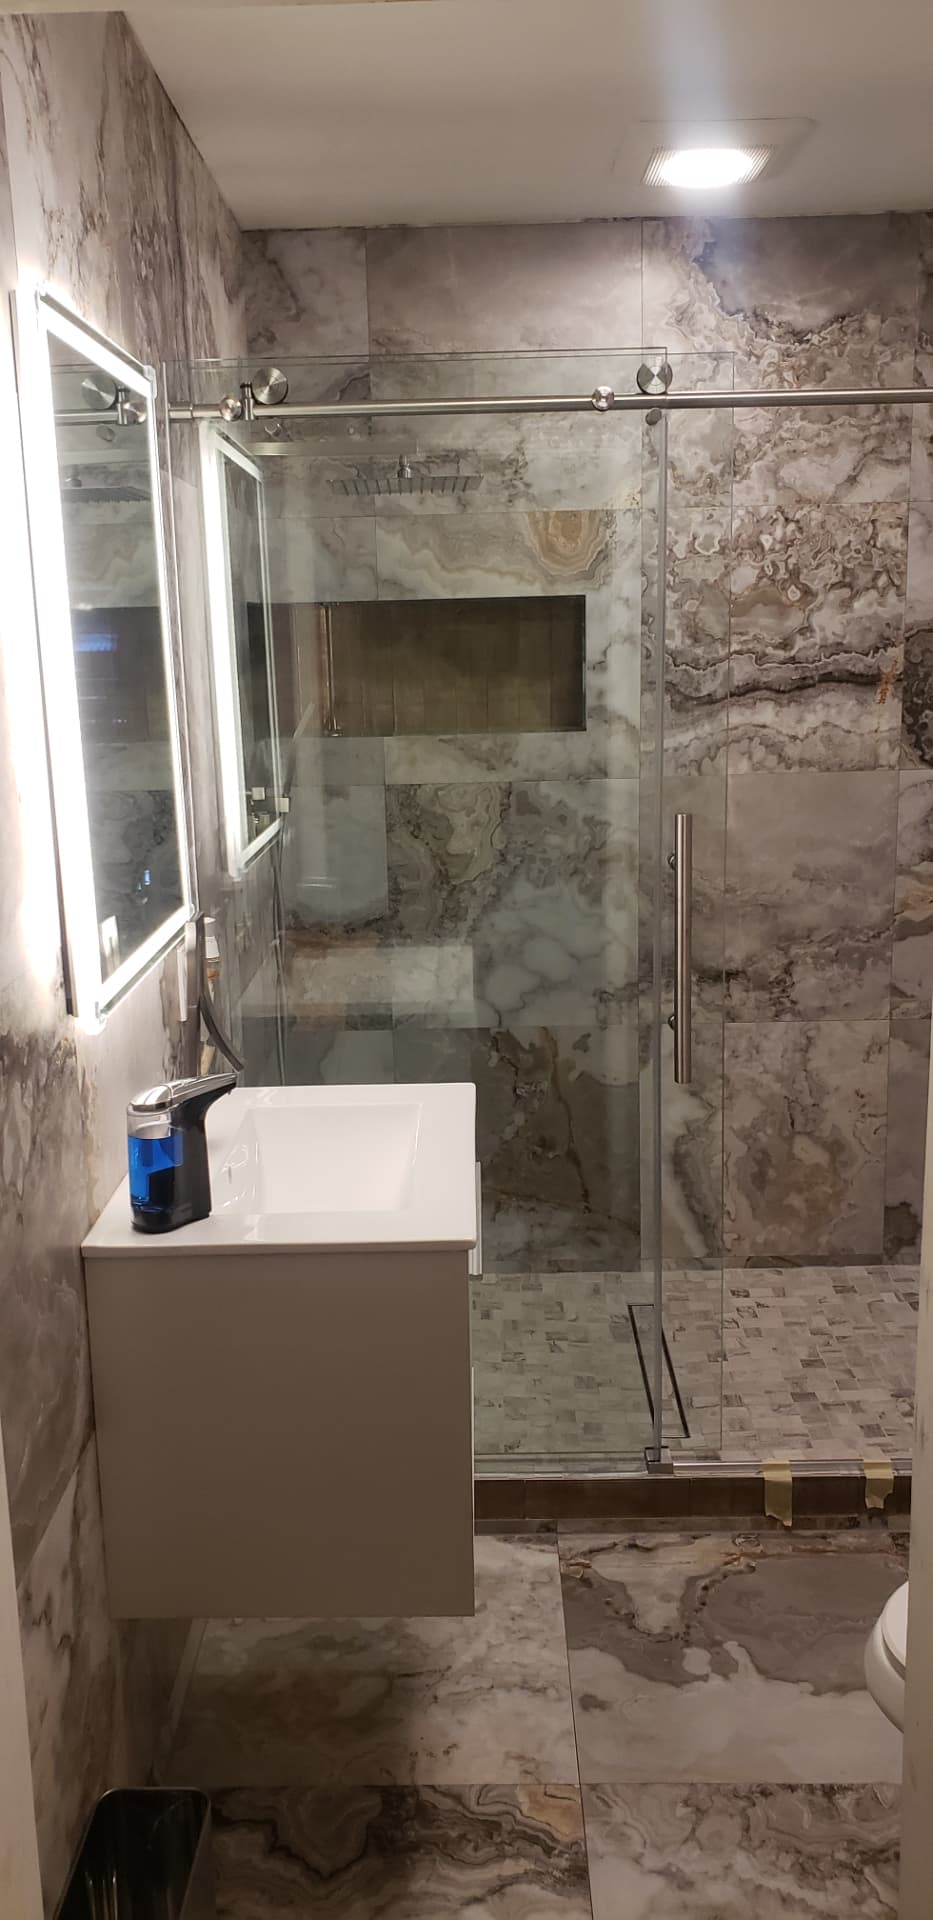
A dated fiberglass-and-travertine shower rebuilt into a full-height porcelain wet area: bonded waterproofing behind the tile, a linear drain at a curbless entry, frameless sliding glass, a floating vanity, and a backlit mirror.

Remodeled bathroom with large-format marbled porcelain tile, frameless glass, floating vanity, and backlit mirror
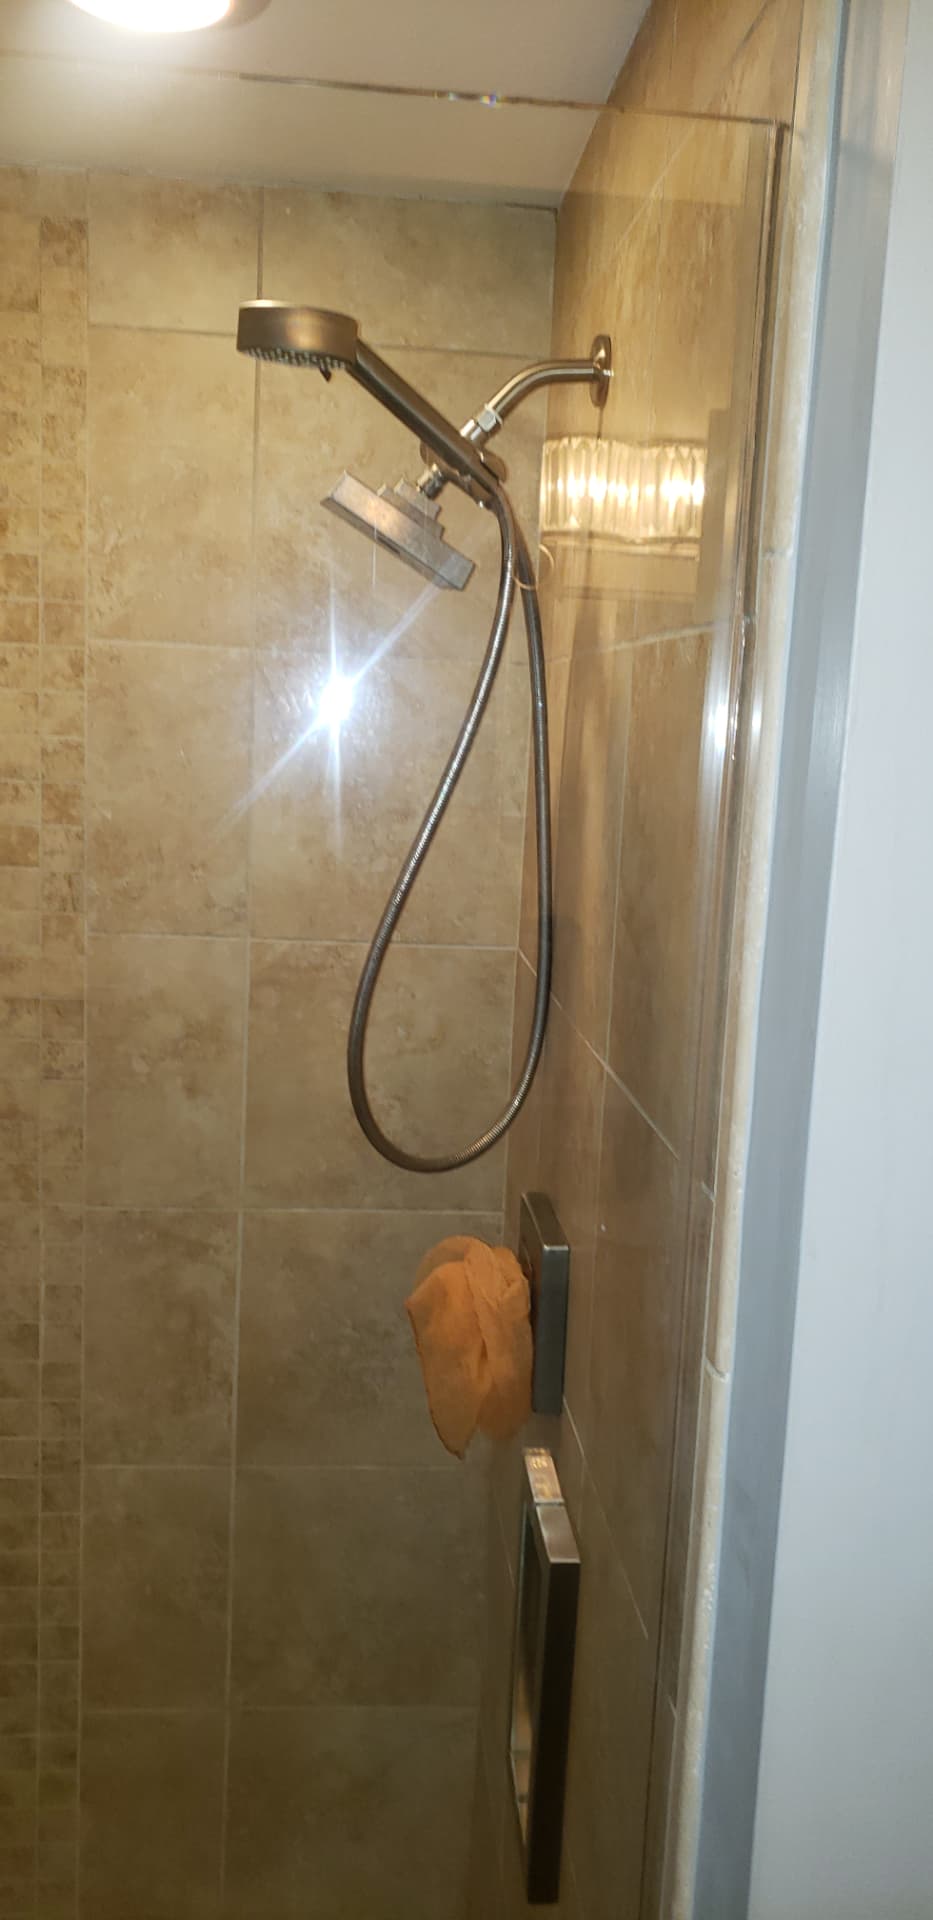
Original bathroom shower with dated beige travertine tile and a framed glass door
BeforeAfter
Bathroom remodel — Victorville, CA

Often paired with

Kitchen Remodel
Opening up walls, fixing the work triangle, and rebuilding the room around how you actually cook.
Repairs & Restoration
Targeted fixes for storm, water, and long-term wear damage.
Home Remodels
Dated desert housing stock taken down to studs and rebuilt as a house that fits how you live now.

Free estimates across the High Desert & all of Southern California

(562) 644-5655